About a year ago, after much thought and prayers, I decided to move forward with my dream of opening a design studio where my clients could come to (if they chose to) and be inspired with everything that they see. The design studio is more of an “idea studio” instead of a retail storefront. I wanted to create a welcoming, comfortable environment, that felt more like a well appointed home with beautifully designed room vignettes for my clients to get ideas and be inspired. The space is about 1050 square feet and the space plan will accommodate two living room vignettes, a dining room vignette, a bedroom vignette and the work areas and sample/resource library in the rear. It is located in a beautiful building called Chelsea Market built in the 1980′s in the middle of Houston’s Museum District.
The dream so far has been very slow to become reality. In fact, the studio is still very much a work in progress. It is partially furnished and doesn’t quite resemble the vision in my head just yet. Because business has been a bit slower than anticipated, I am waiting or the financial resources to get the dream back on track without having to compromise on the vision. In the meantime, I work hard, and network a lot to build business. I know the big pay off is somewhere on the horizon ![]()

A shot of the studio entrance from the beautiful courtyard

The space before I got my hands on it

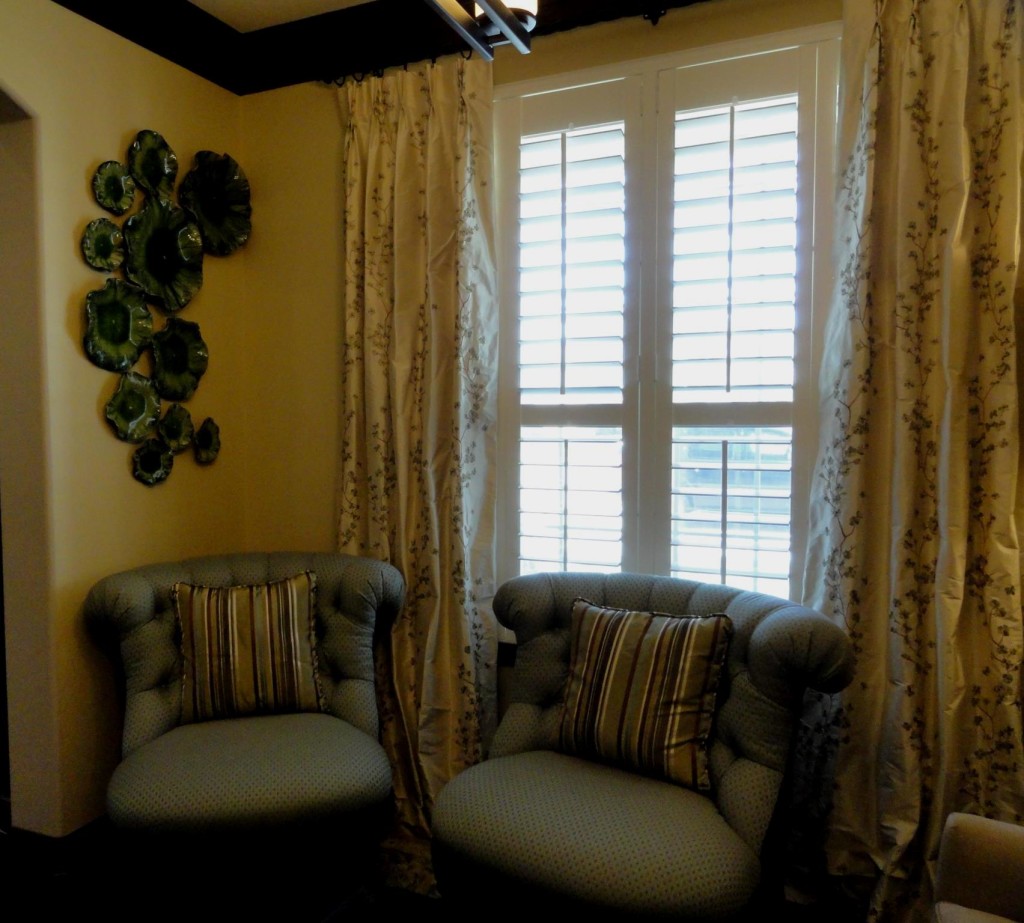
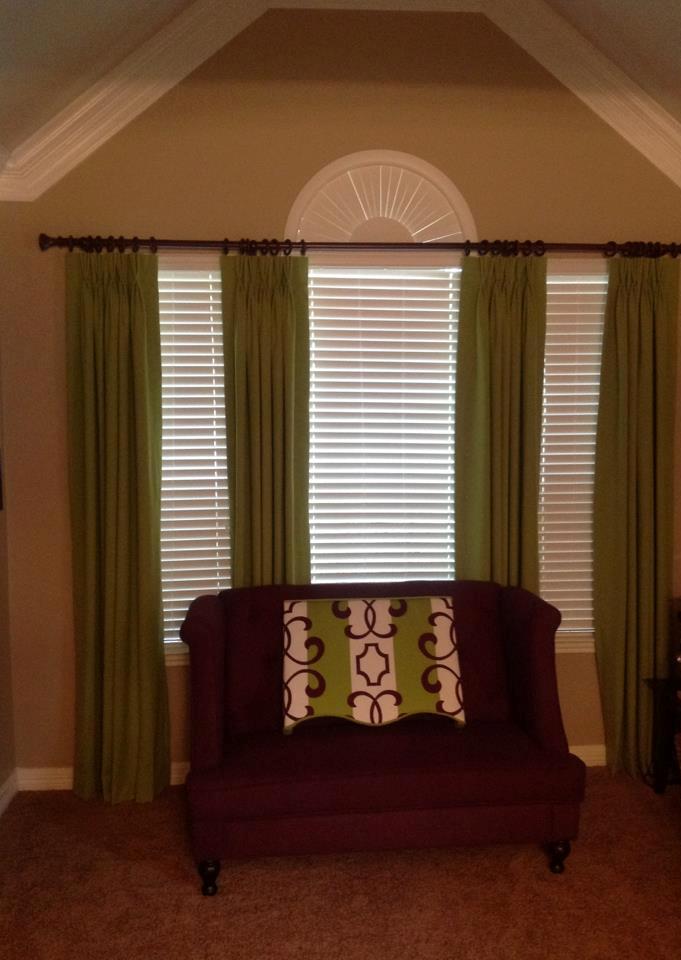
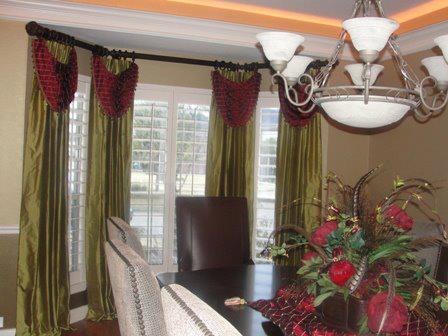
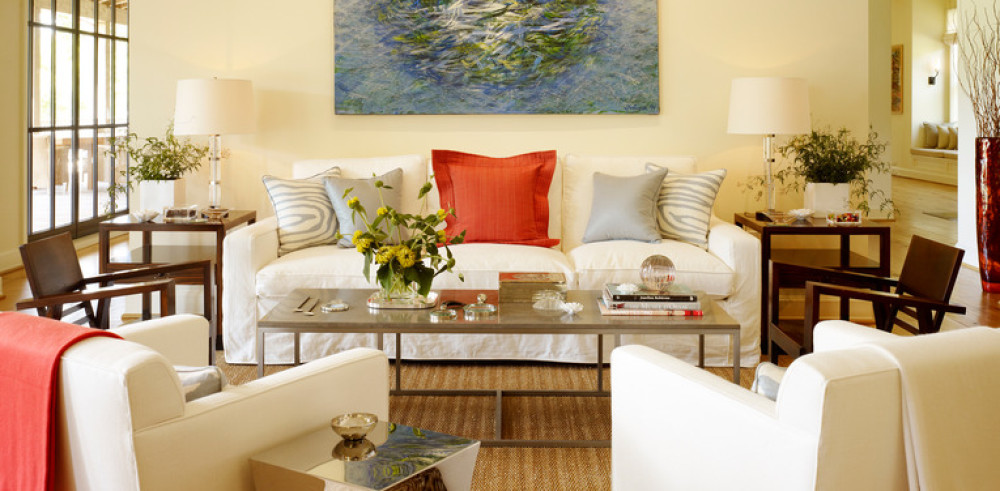
The space After

Another “After” shot
My design studio was also meant to feature the work of “starving artists” whose wonderful creations sometimes go unnoticed by the major art galleries here in the Museum District. This was my way of giving back – by helping someone to get a running start at their creative dream. Eventually I will have “Art Nights” twice a month to feature pieces from a few artists and have them meet and greet patrons and give a bit of background information about their creations.
One such artist is my very good friend Aimee Chaison. She is a fabulous artist who works in acrylic, oil and resin. She is very creative and does everything from jewelry design to canvas to wall murals. Some of her work can be found on her Etsy shop RedNCKDebutante. She is the wonderful talent behind this beautiful wall mural in my design studio. Take a look


.

This mural was done by painting the walls in a gold metallic house paint from Ralph Lauren’s Regent Metallics Collection. She then made a grid on the wall using painter’s tape (the grid gets the proportions and scale just right) and then sketched out branches in pencil and then she painted away. The mural took her a couple of weeks to finish, painting maybe an hour or two a day. Everyone who walks into my design studio swears it is wallpaper! She did a fabulous job, and these pictures do not do it justice!This area will be the dining room vignette in the near future.
Meet my friend Aimee Chaison:

Aimee Chaison working on the wall mural

Aimee Chaison and Veronica Solomon at Fashion Week Houston
She has been a very great encourager and supporter of my dream and I am happy to call her a friend.
I will have wonderful pictures of the completed space hopefully in the very near future.
Here are a few of the quotes that keep me going even in tough times:


Thanks for taking the time to read today. I appreciate every one of my loyal readers. Please leave a comment below with any questions or if you need information about my design services. You may also contact me here. And as always, please share this post.
Have a magnificent Monday!
Be Inspired!