Purchasing and hanging drapery panels can be very overwhelming. There are a lot of little details that need to be considered, which we will talk about briefly in just a second. Most big box stores that offer curtain panels usually have them stocked at 84″ lengths or shorter, and if you are lucky, you may be able to order from their online stores up to 95″ lengths. But what if you have taller windows?
I have seen this happen so often on my in-home consultations. People usually move into a new home and are anxious to cover their windows whether for privacy or decorative reasons, so they run out to the big box store down the street to find an inexpensive solution. But is it really a solution if it is not addressing the problem? Store bought curtain panels rarely fit the windows properly. As I mentioned earlier, they are usually too short, not many choices available, usually unlined or inadequately lined, and little or no consideration given to aesthetic and your energy savings needs. As I always say, you are going to spend the money anyway, why not spend it right. Custom drapery panels are made to fit your windows, and are a beautiful and timeless solution when done right.
Here at No Naked Windows, we have made it easy to order custom drapery panels through our online store. You get to choose your fabric type (silk, faux silk, linen, cotton, burlap etc), your choice of solid or patterned fabric, your choice of header (the pleating at the top of the drapery panels), the finished length, type of lining, or even the choice of using two or three different fabrics for a color blocking effect. Visit our online store to see your options. They start at just $269 per pair!
Once you have determined that custom drapery panels are the way to go, you now need to know how to measure for them and how to hang them, which directly impacts the finished length to order. Measuring is simple – just measure from the floor to your desired height
Some additional tips for measuring:
The finished length is the actual length of the finished panels. To measure for the finished length of your custom drapery panels, simply measure from the floor to the desired height from where you want the panels to hang. A good rule of thumb is: If the space above your window is 8″ or less, it is usually more aesthetically pleasing to hang your drapery panels right at the ceiling. If the height is more than 8″ then you can determine how high above the window you would like to hang the panels. Please note if you have low ceilings hanging the panels closer to the ceiling gives the illusion of more height. One more thing to keep in mind is the hardware you will be using to hang your panels. The hardware will add approximately 1″-2″ to the overall length when hung. If you desire some puddling in your drapery panels, you can add 2-3″ for a trouser break look or 6-8″ for a formal puddled look.
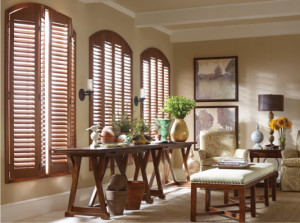
Here are a few illustrations of the Do’s and Don’ts of how to hang drapery panels
In this example there are few don’ts:
- Don’t hang the drapery panels right above the window. Hang drapery panels closer to the ceiling or crown molding to give he illusion of a higher ceiling
- Don’t hang drapery panels so far above the floor. The minimum floor break is 1″. otherwise your drapery panels will look like high water pants
- Don’t hang your drapery panels so far into the window. Hanging drapery panels starting at the edge of the window outward, helps to visually widen the window. Be careful that the edges of the window aren’t visible. Drapery panels should cover about 3-4″ of the window edges on either side. This applies to decorative drapery panels. If privacy is desired with your drapery panels, then you will need much more fabric for fullness, and room on either side of the window for stack-back ( The stacking back of the fabric when the drapery panels are in open position)
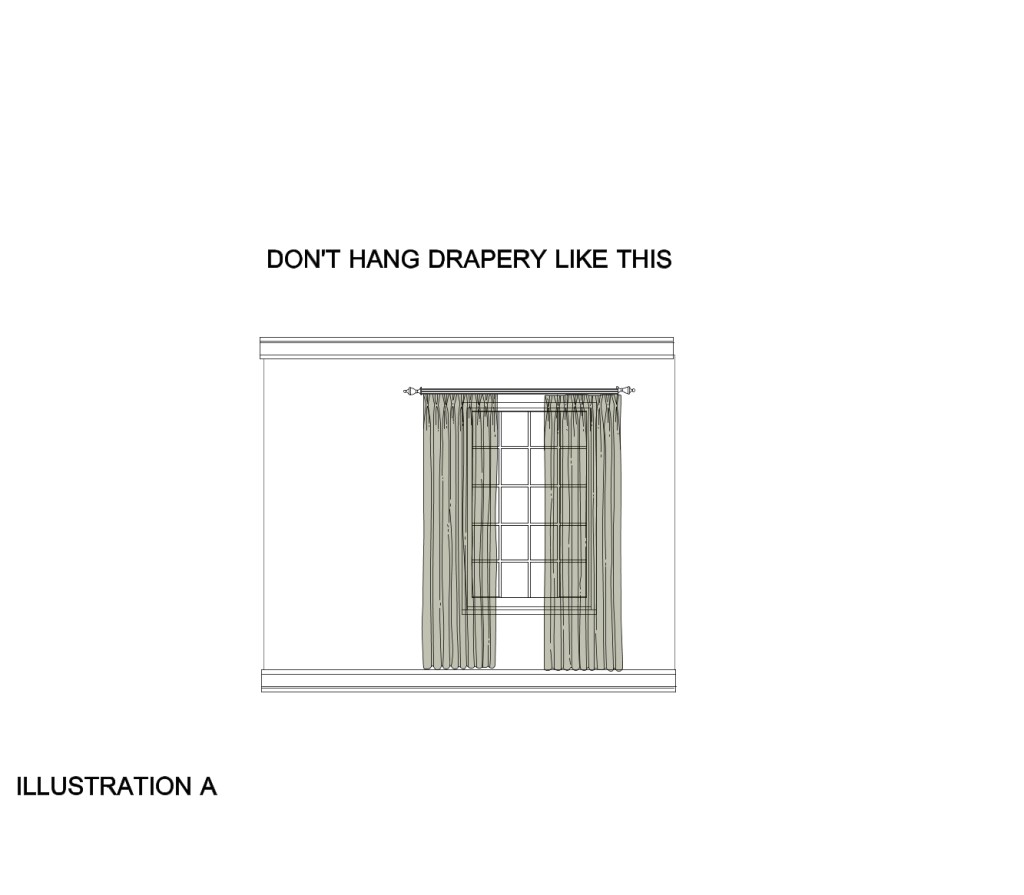
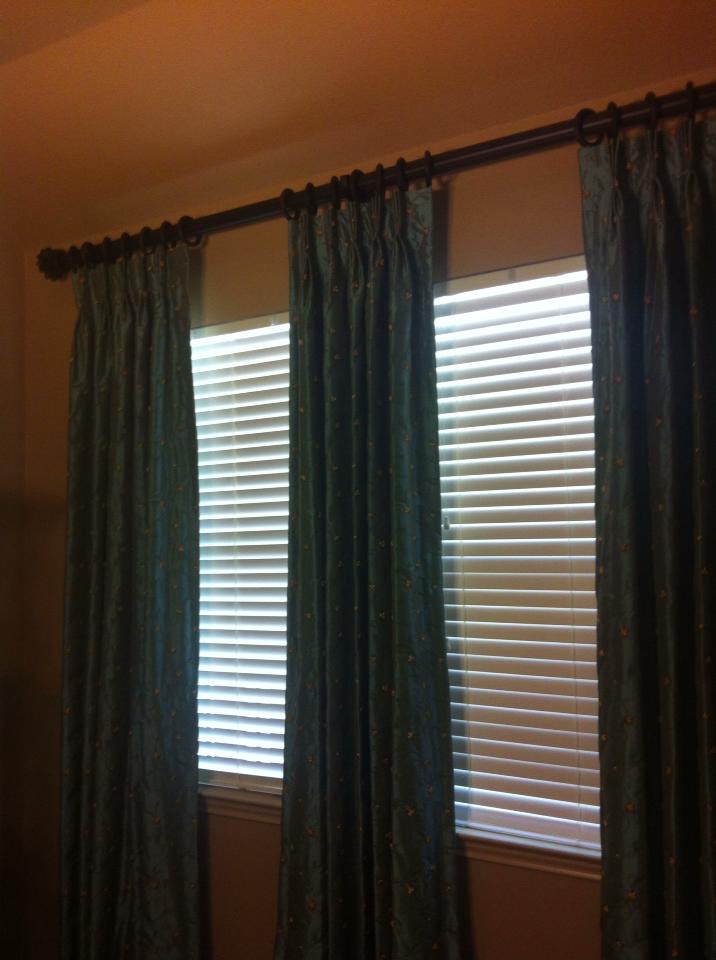
In this example, at least the drapery panels are touching the floor, but notice that they are still hung too close to the top of the window and the drapery panels are too far inside the window.
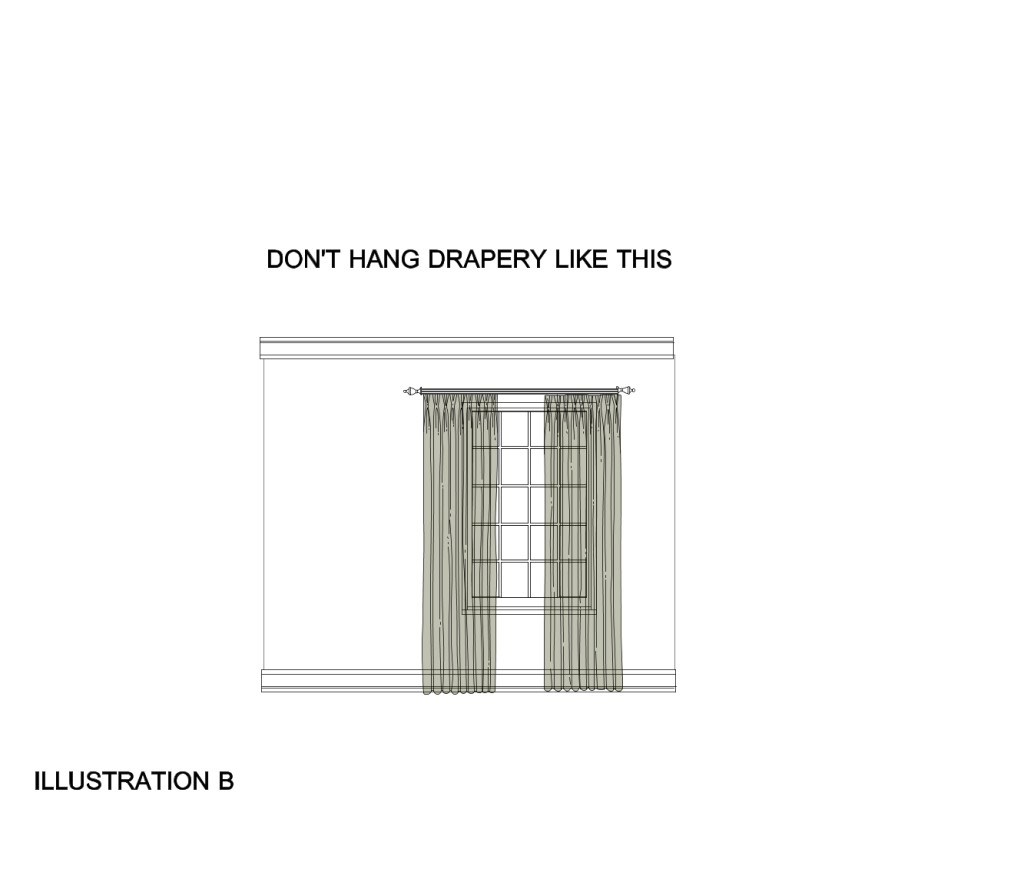
In this example, it’s finally done right:
- The drapery panels are at a 1″ floor break
- The drapery panels are hung closer to the ceiling
- The drapery panels are hung at the window’s edges and outwards
I get this question a lot: What if I have double windows with drywall or trim in between both windows? Here’s the answer:
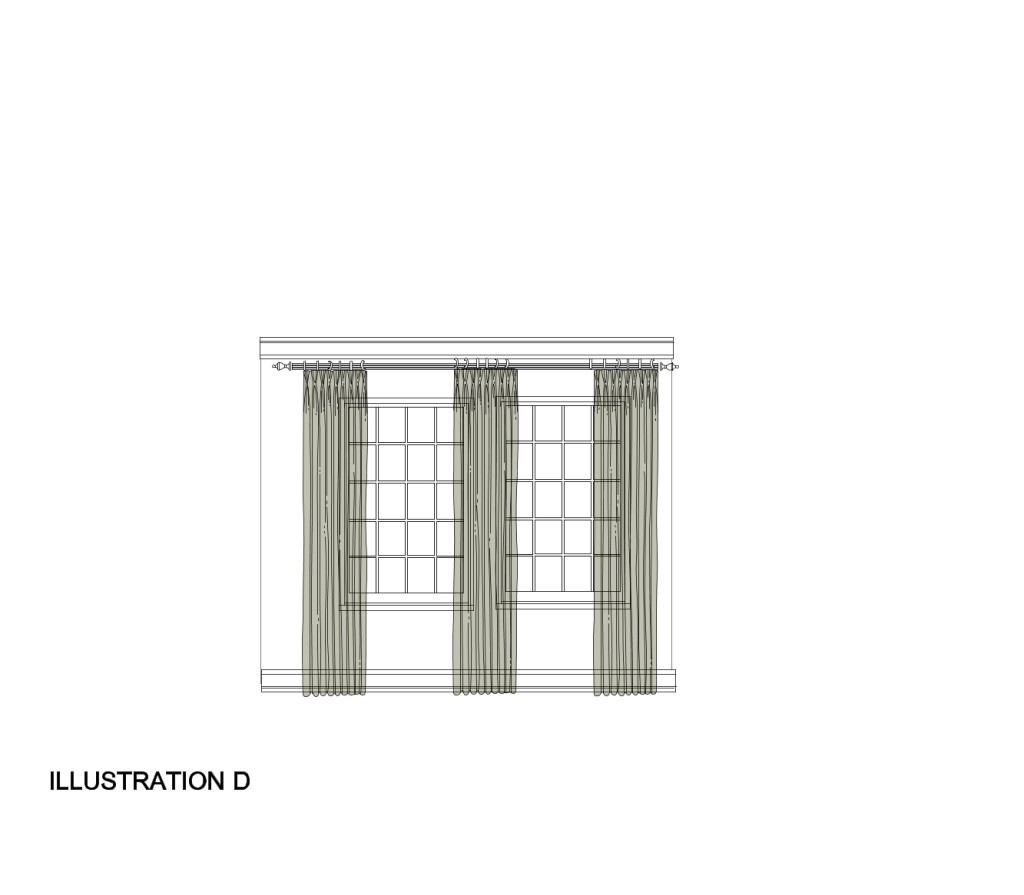
I recommend ordering a third drapery panel to cover the drywall between the two windows….especially if over 6″ wide. This helps the overall window treatment to flow better and look like one unit and be more cohesive. If you have beautiful wood trim casings around your windows that you wish to show off, then no need for the third panel, as long as there isn’t more than about 18″ between the two windows with casing included, in which case you may need to treat them as two separate windows with two drapery panels each.
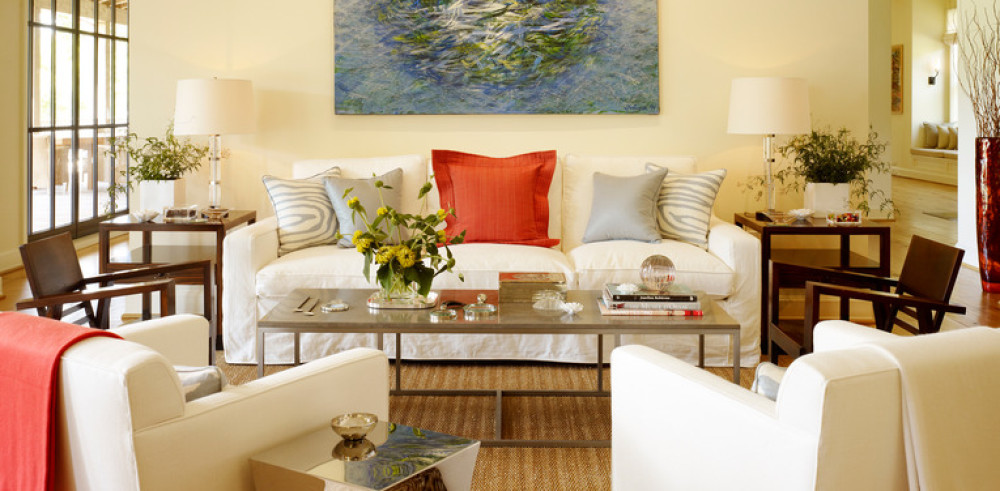
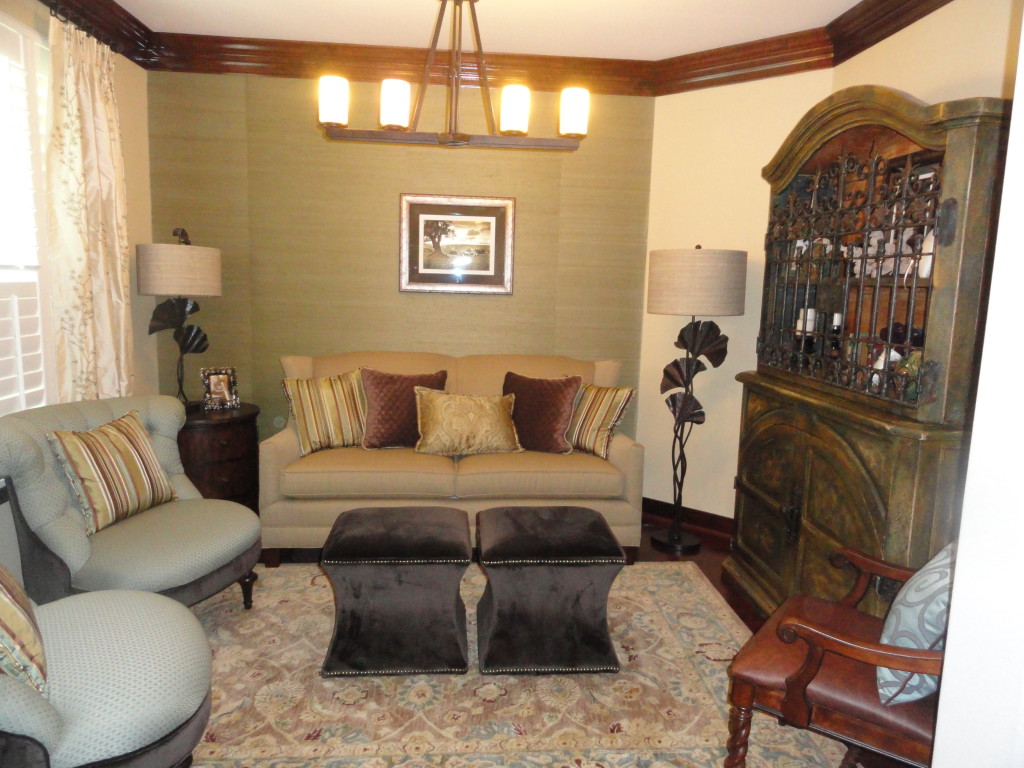
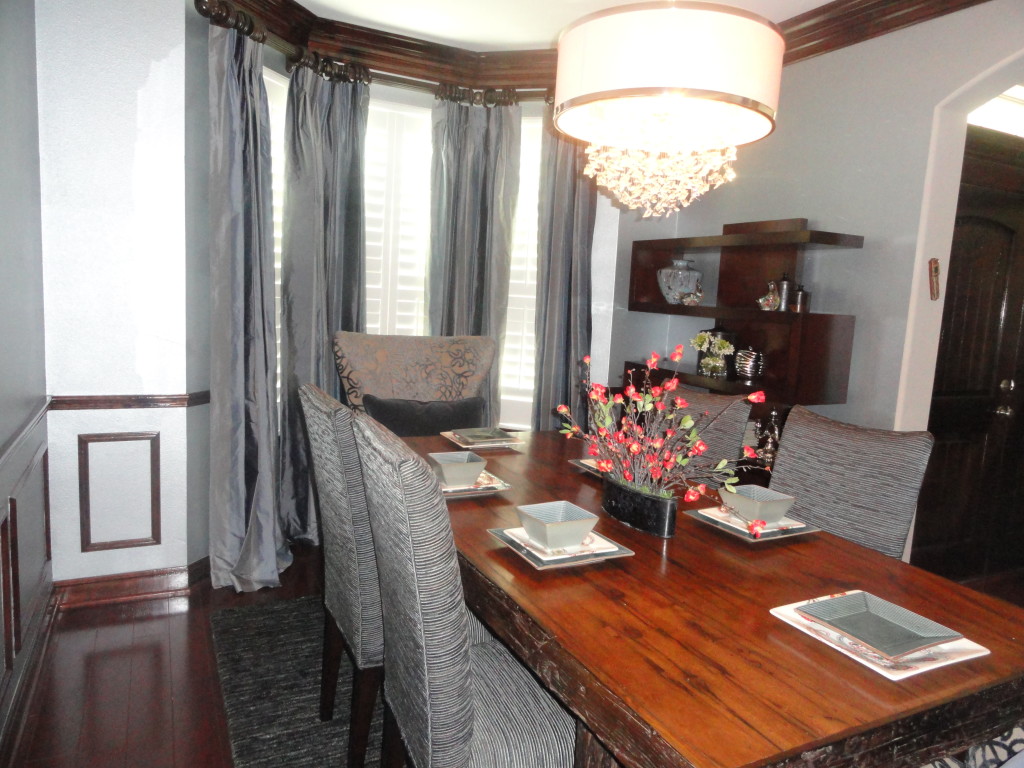
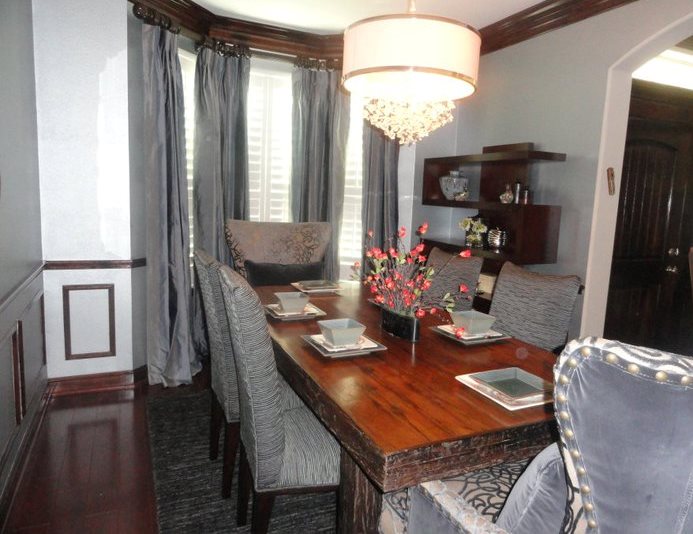
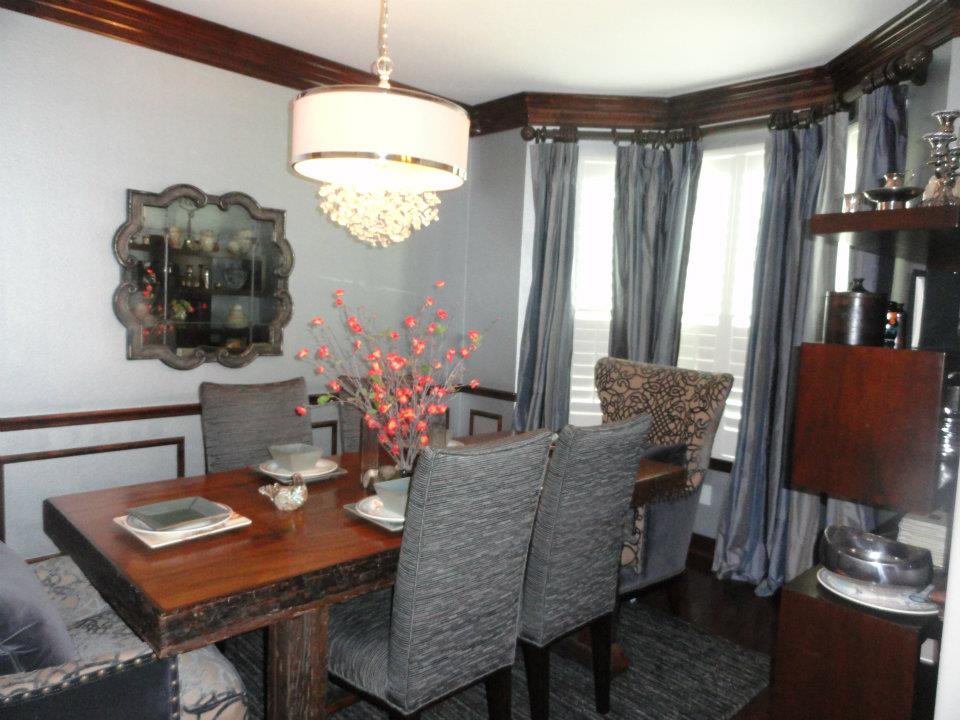
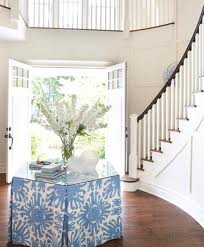
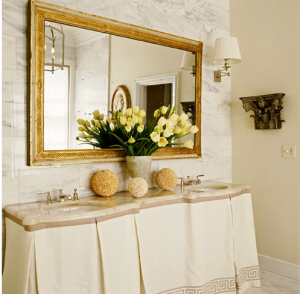
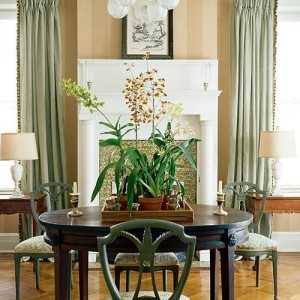
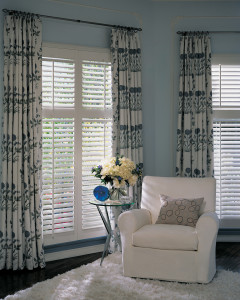
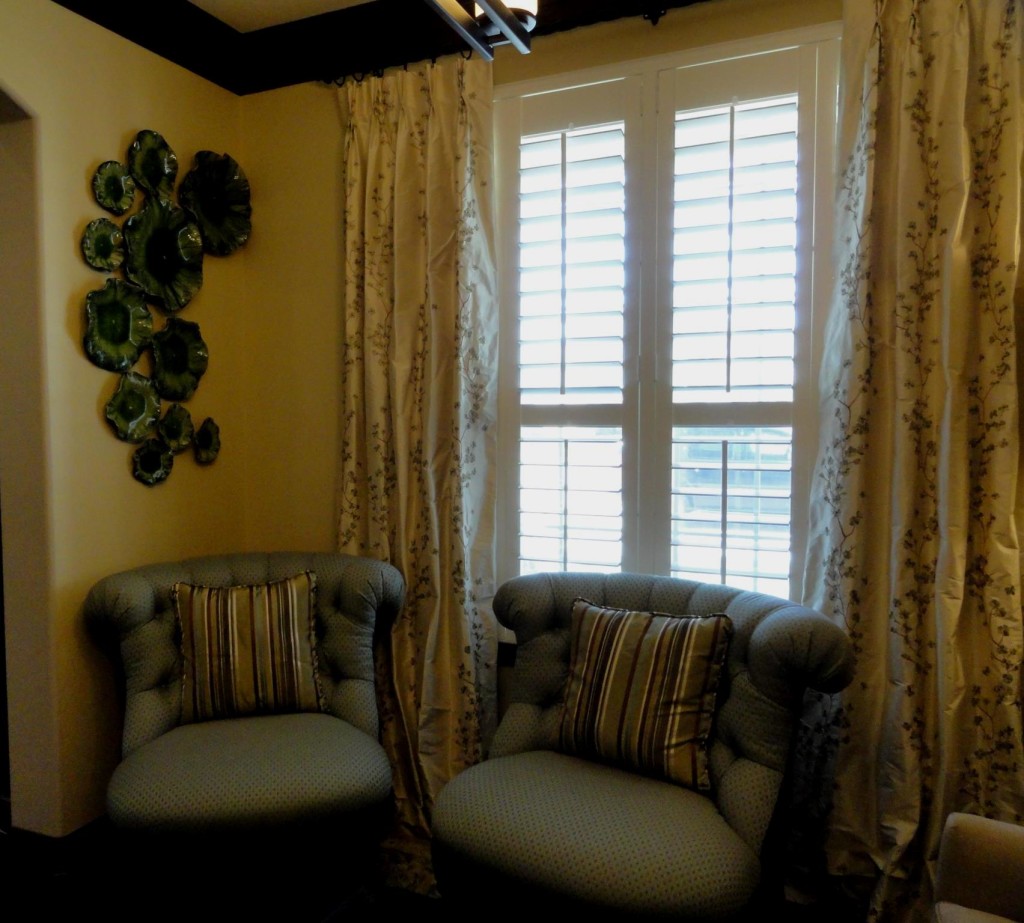
Here’s an example of drapery panels I designed and had installed for my client about two years ago. Notice that there wasn’t a lot of room above the window, so we took it all the way to the crown molding.
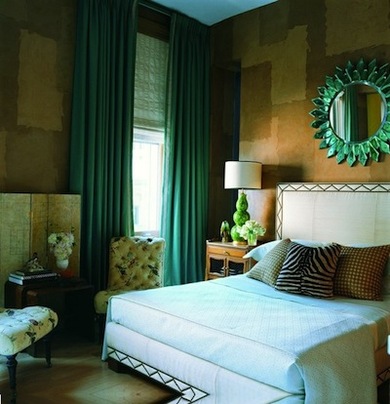
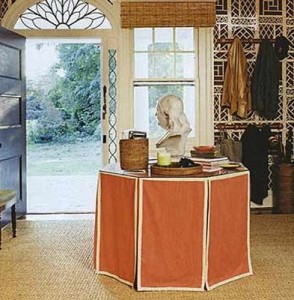
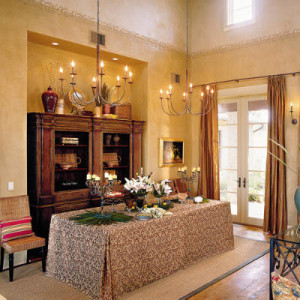
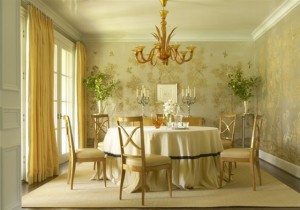
A couple more examples:
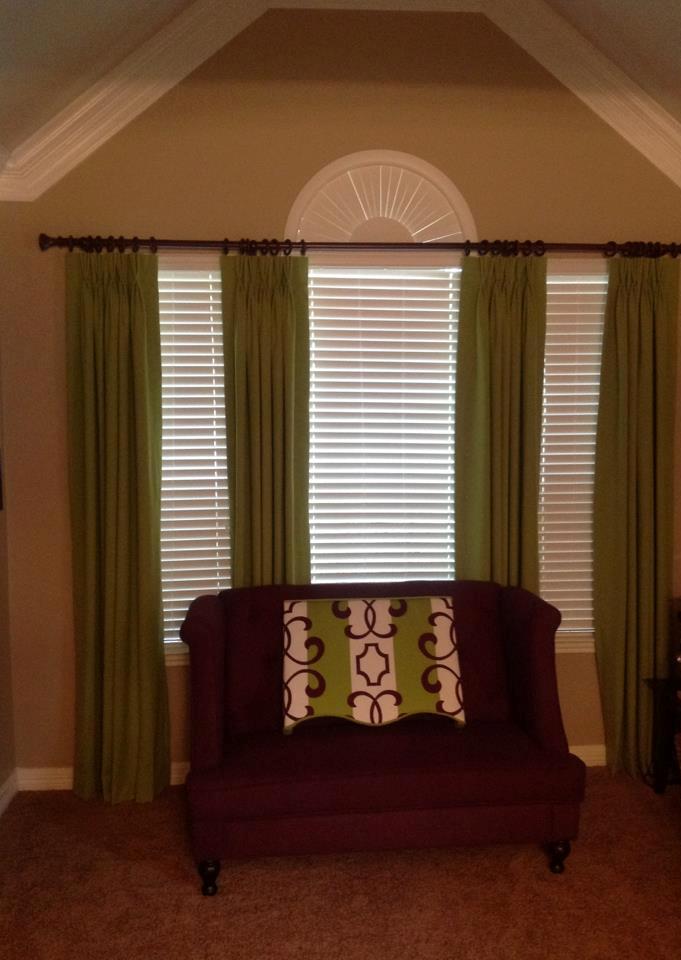
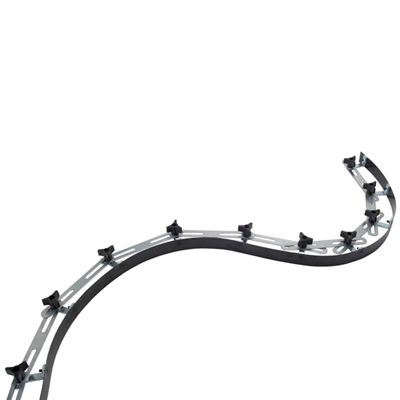
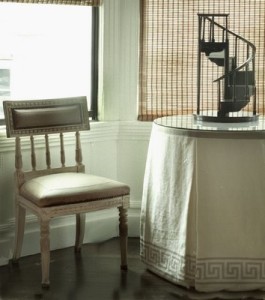
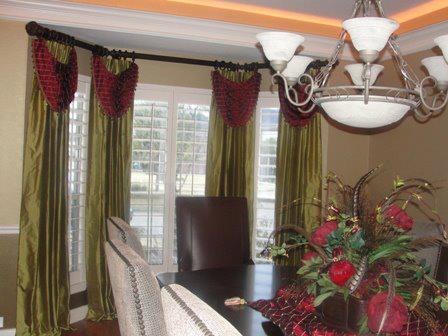
These are actually drapery panels with handkerchief swags. I included this picture to illustrate what happens when we are working with a bay window. You still want the windows to be one unit and have a cohesive flow. Here we used three different rods, but added a special hardware called an “elbow” to join them together at each 45 degree angle. The elbow is quite flexible and works much like our elbows do. The drapery panels are then installed to wrap around the angles for a better flow and cleaner look.
So today you’ve learned how to measure your windows, where to order your custom drapery panels, and how to hang them. We will be running our summer special on custom drapery panels and all other window treatments starting June 1st through the entire summer – up to 20% off! You can use coupon code SUMMER20 at checkout beginning June1. If you are in the Houston area, lucky you! We can install your custom drapery panels for you at an additional charge, and even order your hardware for you! 
maybe you have some questions before ordering. You can contact me here and connect with me on all my social media channels.
Please don’t forget to comment and share!
Be Inspired!

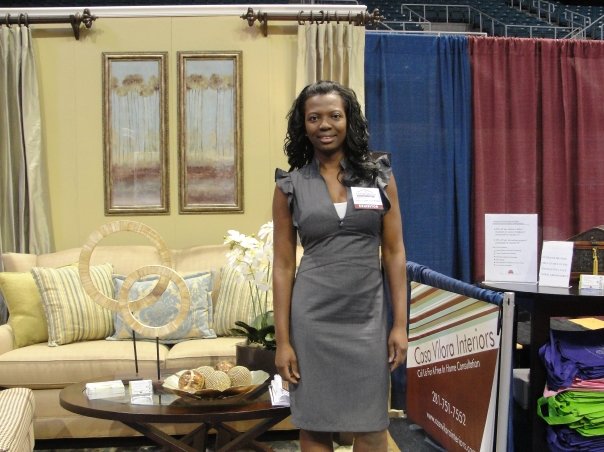
Veronica Solomon
Like this:
Like Loading...